Welcome to DatBot.AI
DatBot is a new breed of chat interface, optimized for real, repeatable results. Built on dynamic chained workflows and our ‘knowledge map’ technology to save you time and supercharge your productivity.
Quick Interface Tour
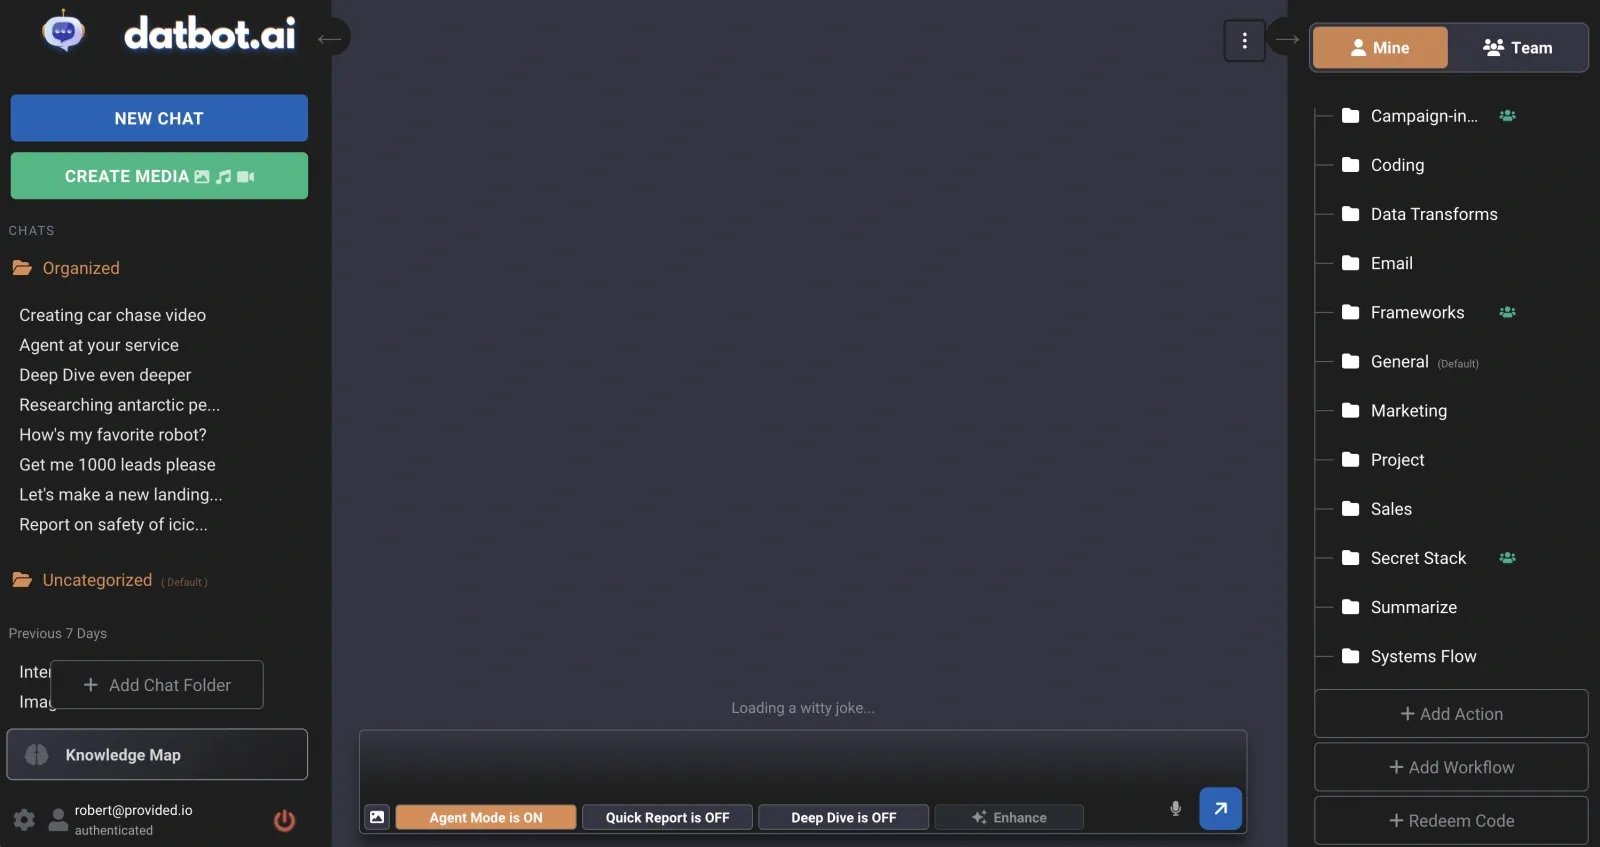
🧭 Left Panel - Navigation & Organization
New Chat & Media Buttons
At the top of the left panel, you’ll find:
- New Chat - Start a fresh conversation with any AI model
- New Media - Create images, videos, audio, and more
Chat List & Organization
Your chat history appears here. Pro tip: You can:
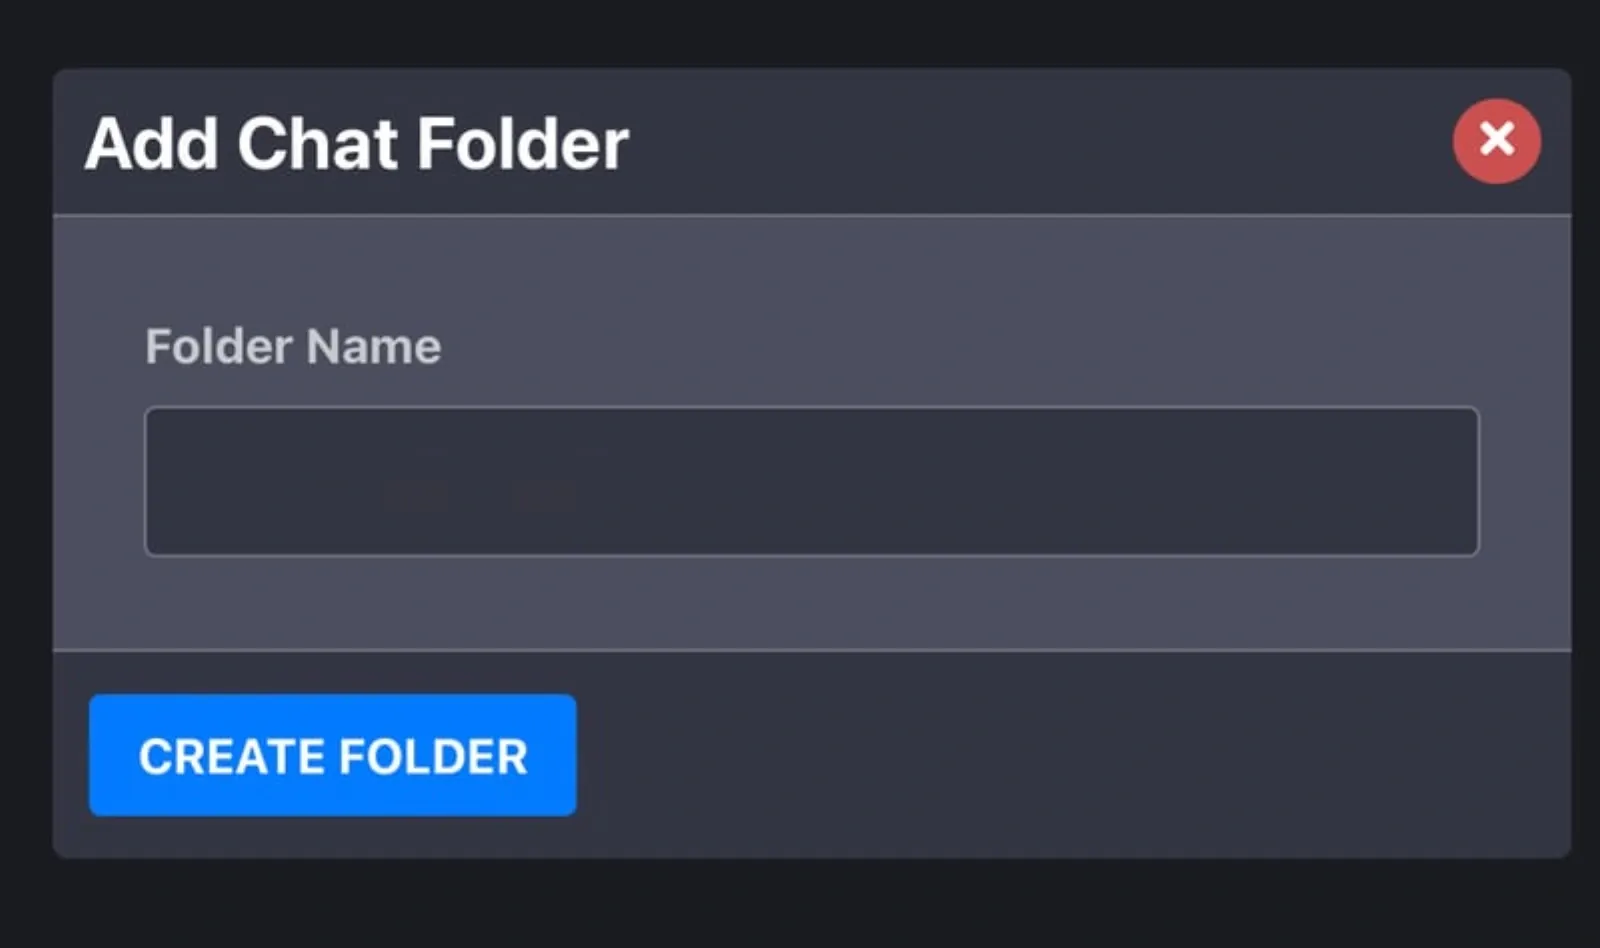
- Create folders by clicking “Add Chat Folder”
- Drag and drop chats into folders for organization
- Name folders anything you want (Projects, Clients, Personal, etc.)
Bottom Navigation
- Settings (gear icon) - Customize AI behavior and preferences
- Account Management - Manage subscription, add team members, purchase credits
- Logout - Sign out when you’re done
💬 Center Panel - Where the Magic Happens
Chat Container
This is where your conversations live. Notice the helpful icons that appear on messages:
- Add to Folder - Save great prompts for reuse
- Copy - Quickly copy AI responses
- Edit (pencil) - Edit any message and branch conversations
Chat Input Box
Your command center! Type your prompts here. Pro features:
- Type
@https://website.comto automatically scrape and include website content - Send images directly for instant analysis by clicking the image icon in the chat input box
- Voice input: Click the microphone icon to speak your prompts instead of typing
- Voice output: Click the speaker icon on any AI response to hear it read aloud
- Knowledge Map: Click the brain icon in the left sidebar to upload documents, then enable “Use Knowledge Map for Replies” in settings. Learn more
🚀 Right Panel - Actions & Workflows
This is where DatBot really shines! The action panel lets you:
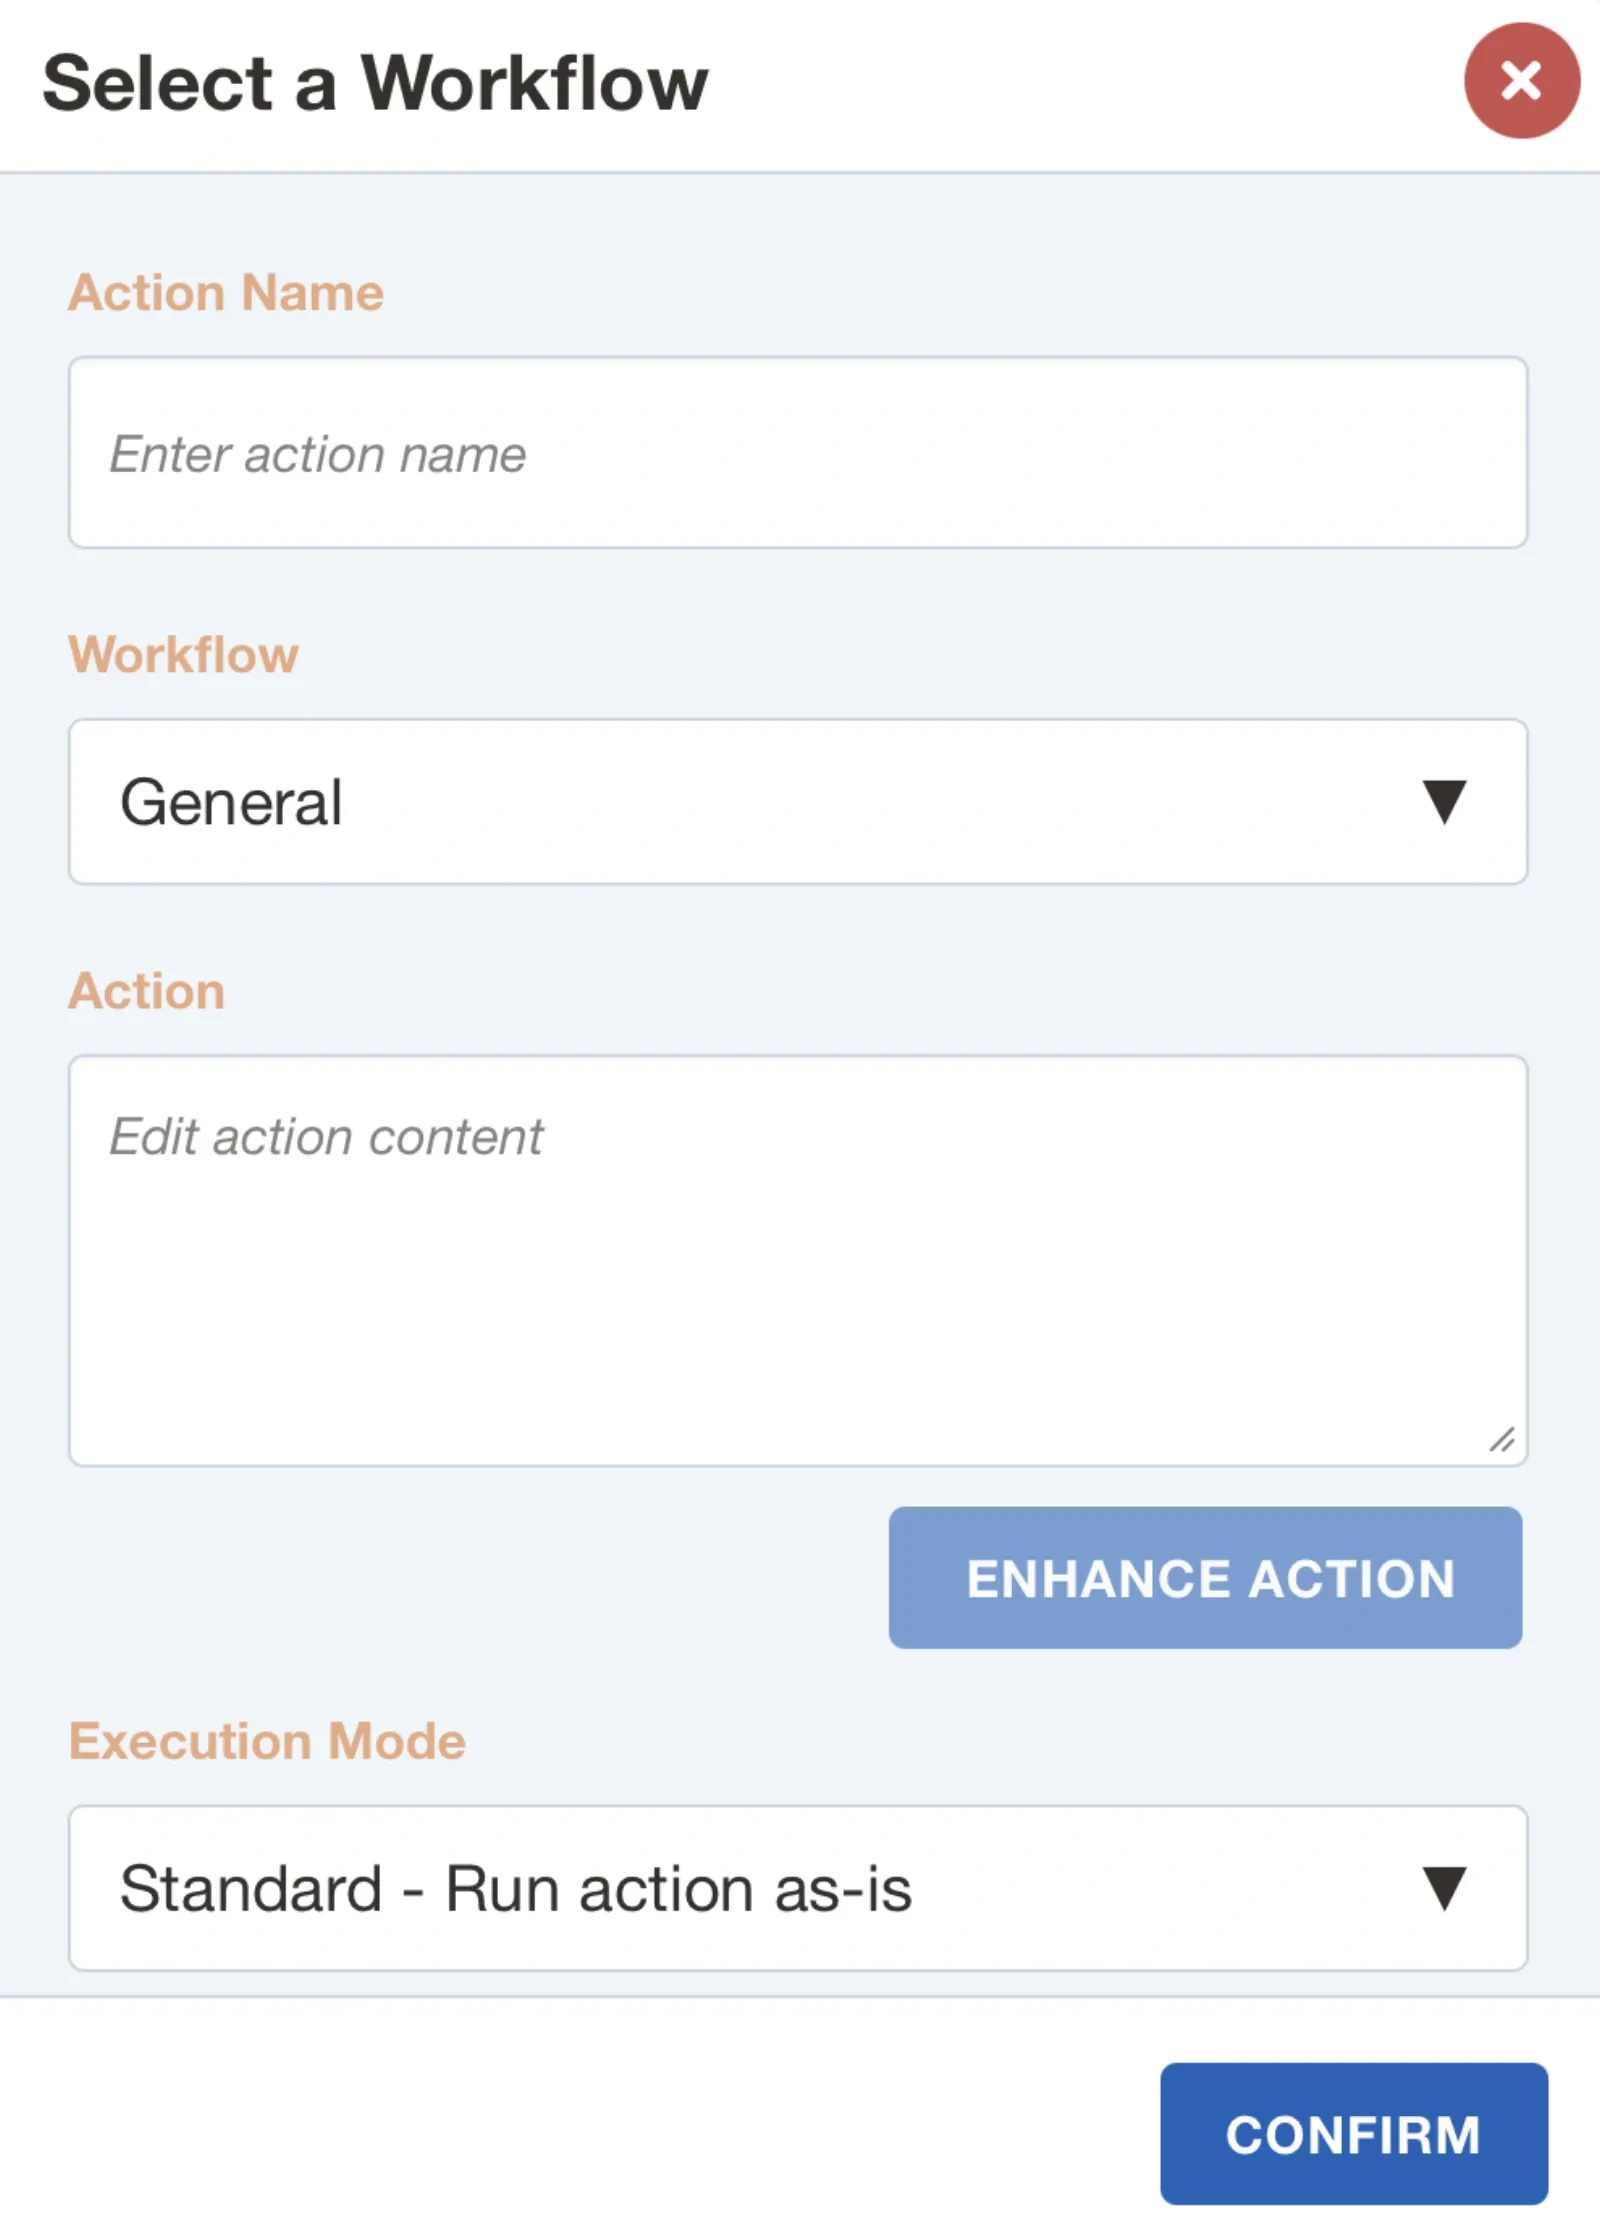
Add Actions
Click “Add Action” to:
- Create reusable action templates
- Add dynamic variables with
${variable name} - Magic Action: Click this button to transform a basic idea into a detailed, optimized action. Write “summarize this document” and Magic Action turns it into a comprehensive instruction with structure, tone guidance, and output formatting. It’s like having an action engineer on call.
Organize with Folders
- Create folders for different workflows
- Drag actions to reorder them
- Click the play button on any folder to run all actions as a workflow!
Redeem Codes
- Enter action codes shared by others
- Type “reset” to restore default actions (won’t affect your custom ones)
Essential Features You’ll Love
🔄 Version Control for Chats
Edit any message by clicking the pencil icon. DatBot automatically:
- Saves different versions
- Shows version numbers at the bottom
- Lets you navigate between versions with arrows
- Continues conversations from any point
⚙️ Instant Settings Changes
All settings apply immediately to future messages:
- Switch models on the fly
- Enable enhanced reasoning for complex tasks
- Adjust temperature for creativity vs. accuracy
- Learn more about settings
🎭 Personality & System Prompts
Click the person icon (next to settings) to:
- Set AI personality (professional, casual, pirate mode!)
- Create custom instructions
- Make AI always cite sources
- Have it think step-by-step
- Explore personality options
📥 Export Your Work
Download any chat as CSV:
- Click the download button (down arrow) in the top right
- Gets the current active version
- Perfect for reports or sharing
Pro Tips for Power Users
💡 Workflow Magic
Save hours by creating workflow folders. Add related prompts, order them logically, then hit play to run them all automatically!
Quick Wins
- Organize early - Create folders for different projects or clients
- Save winning prompts - When you get a great result, save it as a template
- Use variables - Make prompts reusable with
${client_name}or${project_type} - Try different models - Same prompt, different model = surprising results
Power Moves
- Chain prompts in workflows for complex tasks
- Mix models - Use GPT-4 for reasoning, Claude for writing, in one workflow
- Build templates for repetitive tasks (reports, emails, analysis)
- Share workflows with team members using prompt codes
Common Questions
Q: How do I switch between AI models? A: Click the settings gear, select your model, and it applies to all future messages instantly.
Q: Can I collaborate with my team? A: Yes! Share action codes, and on team plans, collaborate directly. Learn about team features.
Q: What’s the difference between chat folders and action folders? A: Chat folders organize your conversation history. Action folders create executable workflows.
Q: How do I use Deep Dive research mode? A: Enable it in settings for comprehensive research with 100-200+ sources. Learn more.
What’s Next?
Now that you know the interface:
- Create your first action template - Learn the action system
- Build a workflow - Automate multi-step tasks
- Explore available models - Find the right AI for each task
- Master the settings - Customize your experience
Need More Help?
- 📧 Email: [email protected]
- 💬 In-app chat for instant help
- 📚 Browse our complete documentation
- 🎥 Video tutorials coming soon!
Ready to dive in?
The best way to learn is by doing. Start with a simple chat, save a prompt, then build your first workflow. You’ll be automating like a pro in no time!